
Senior Class Advice~xo Aunt Lorri
May 5, 2017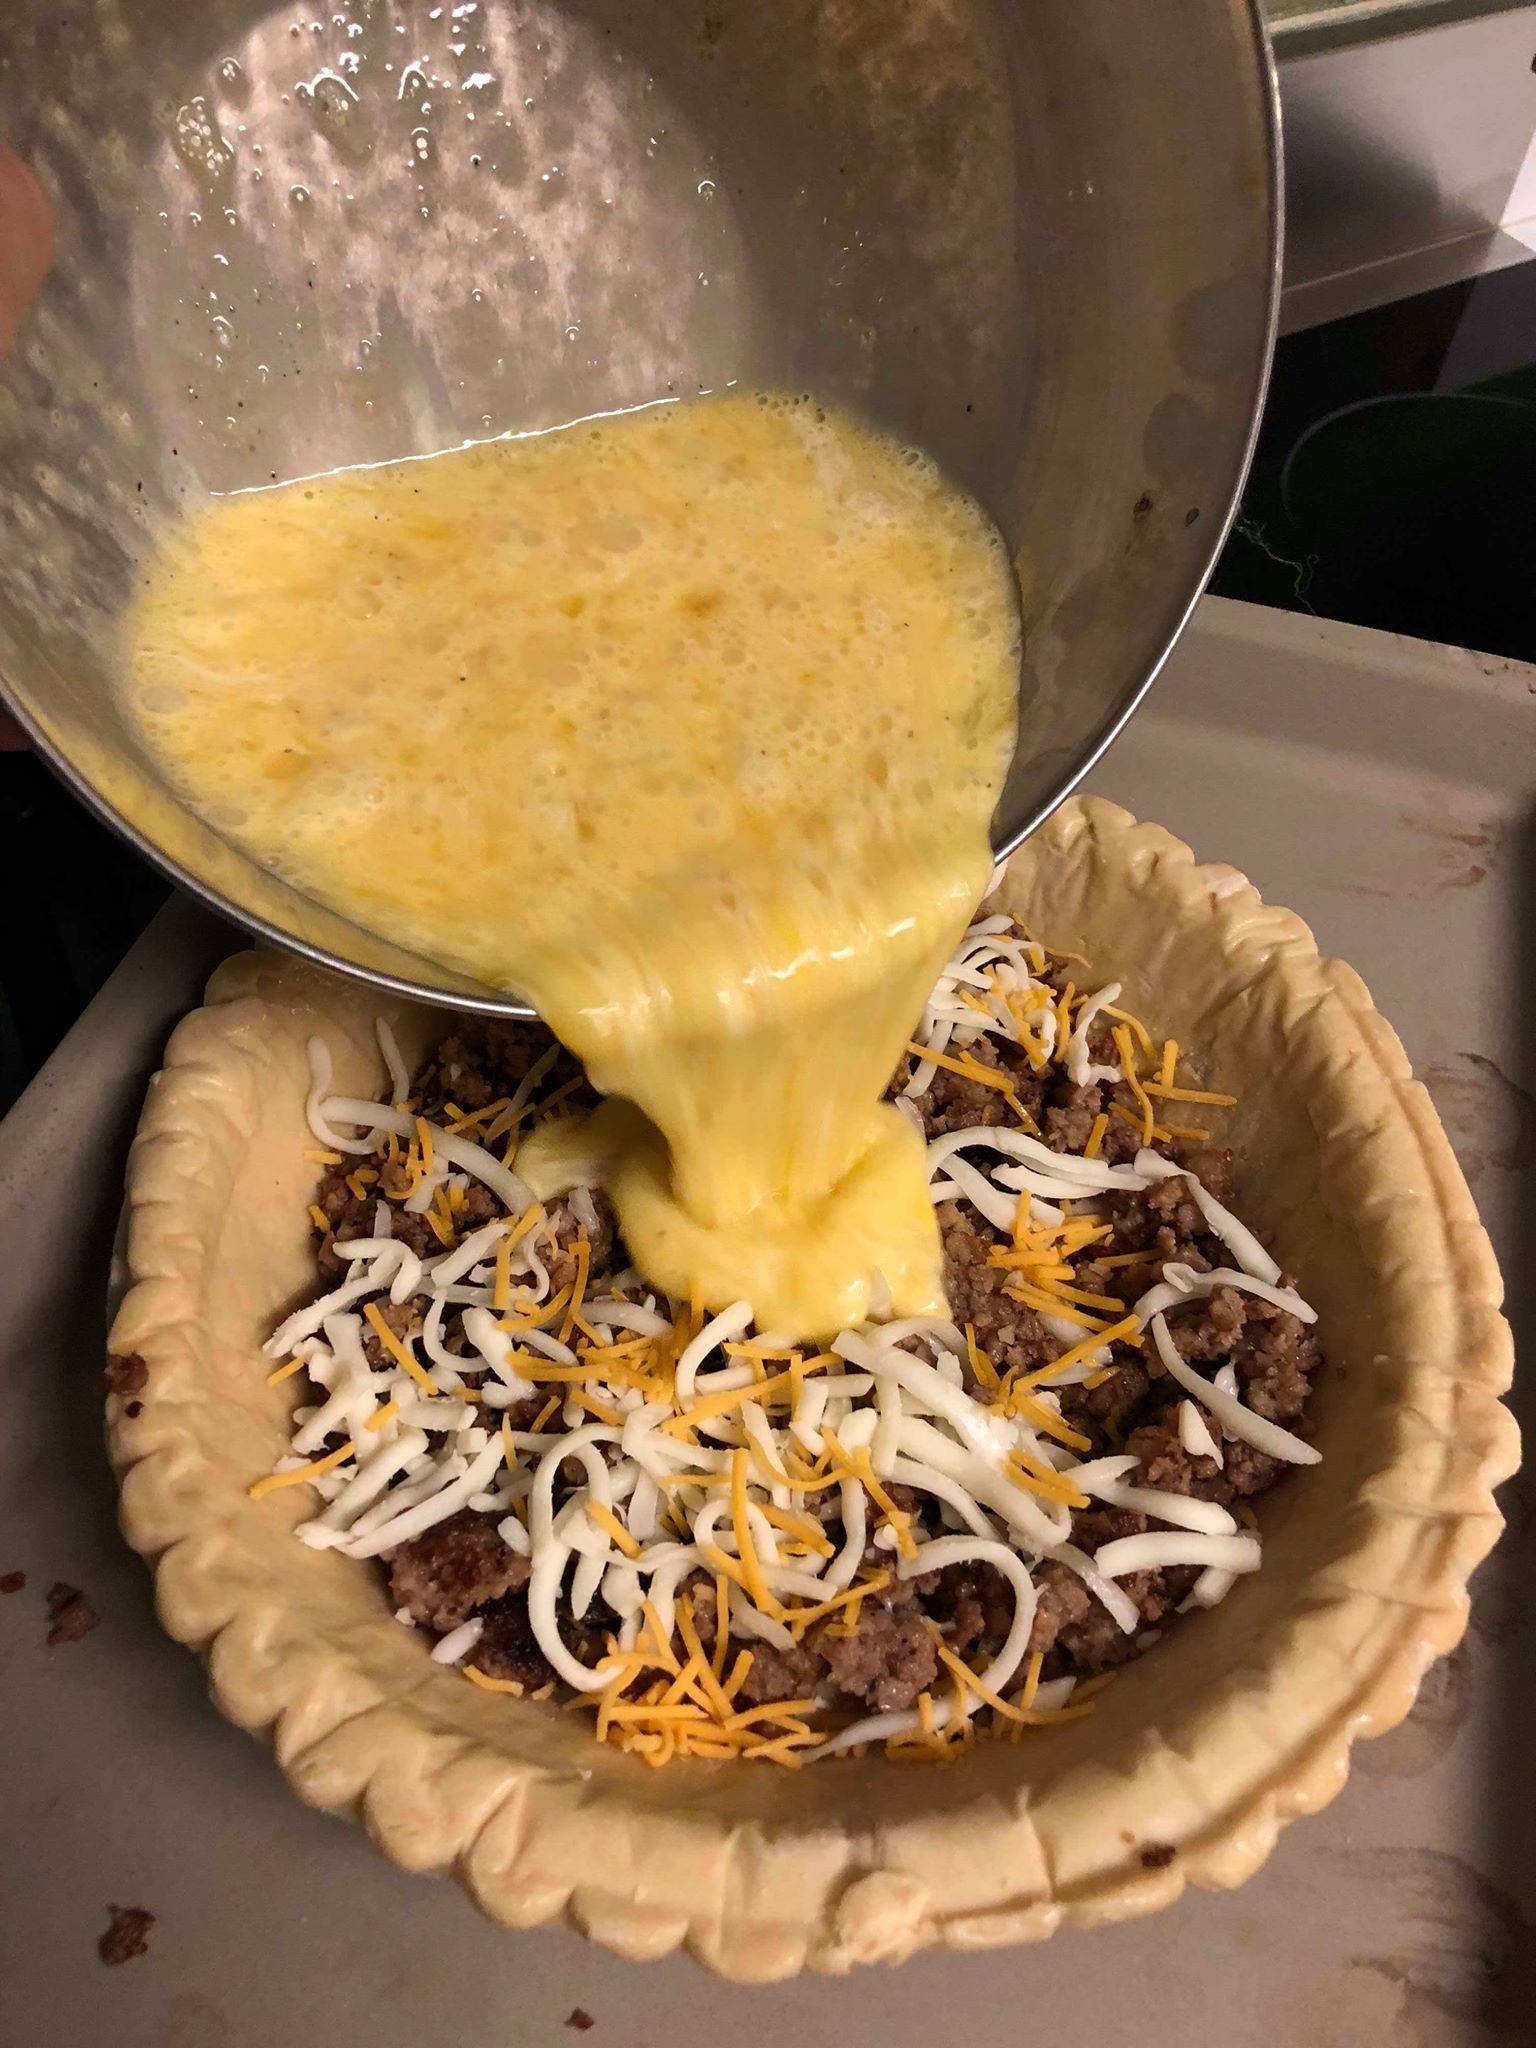
Oh My, My – it’s Christmas Pie!
October 25, 2018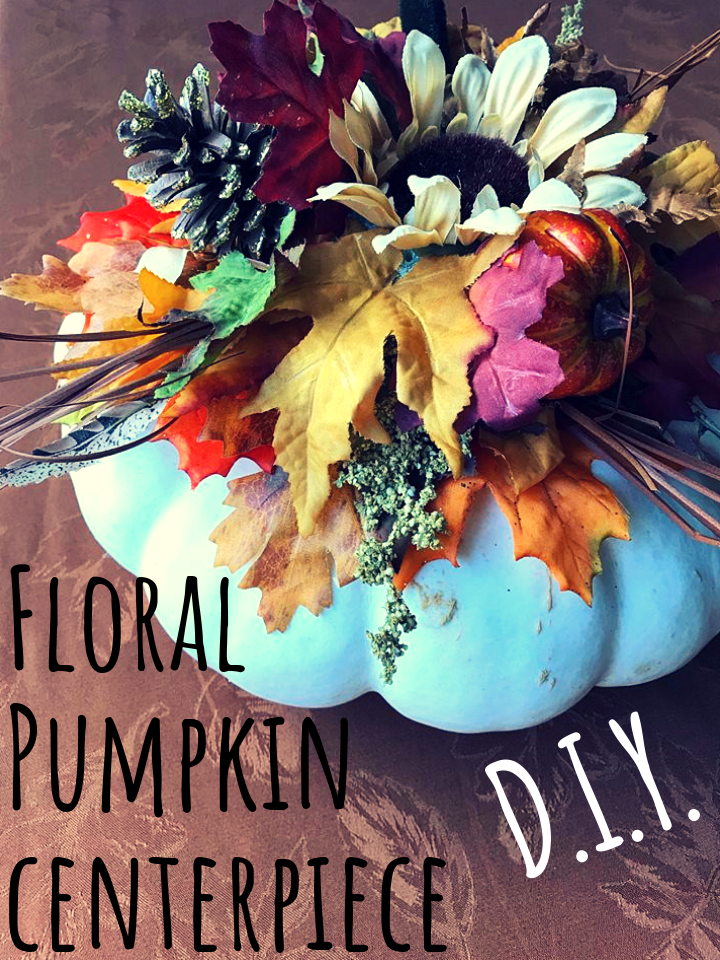
Happy Fall, Y’all!
Although the temp outside most days feels as though we are still in the pits of Summer, it’s officially Fall! That means the holidays are right around the corner and it’s time to start decorating. I love the warmth and coziness this season’s décor brings into the home. Everything from the pumpkin spice candles to the bright orange and yellow leaves brings my heart so much joy! So I thought I’d start the season off with a DIY that will have your guests asking, “Where did you buy that?” Fall decorations don’t have to be extravagant to make a statement. DIYs sound like a lot of effort, but I promise this floral pumpkin centerpiece is so easy and takes only one hour to create.
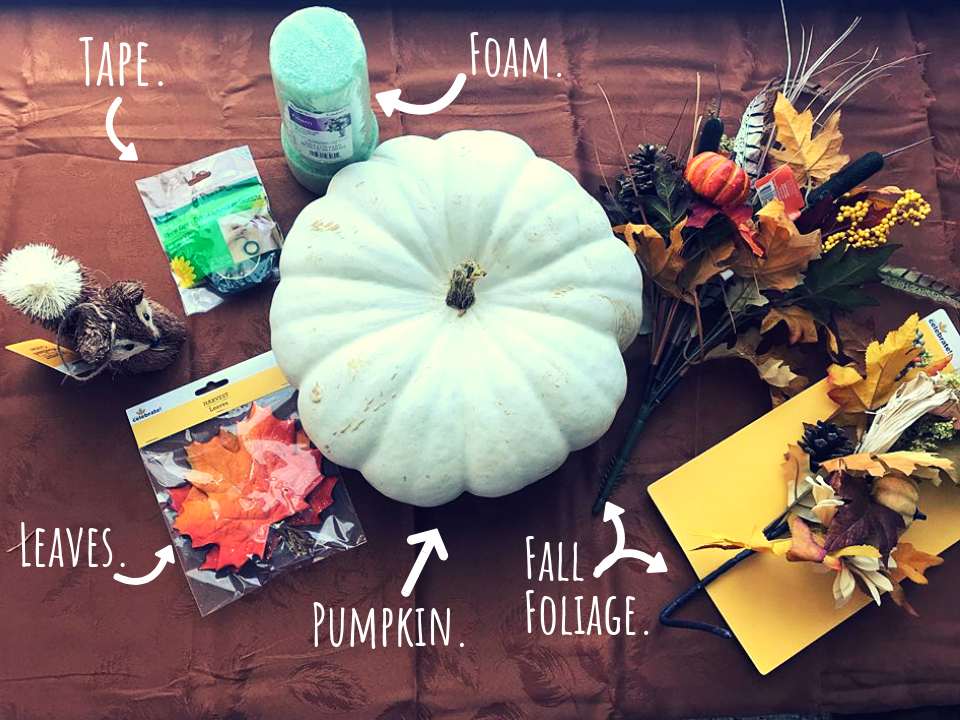
You’re going to need the following:
- A pumpkin of your choice (I prefer white for the neutral color balance).
- Floral Foam (Wet foam if you use real plants)
- Tape
- Flowers, leaves, pinecones or whatever you’d like in your arrangement
- 2 Tbsp of bleach (optional)
- 1 Tbsp of dish soap (optional)
Optional: You may want to start by soaking your pumpkin so that it will last longer. You can do this by preparing a mixture in your sink of a gallon of water, 2 tablespoons of bleach, and 1 tablespoon of dish soap. Let the pumpkin soak for 15-30 minutes and dry thoroughly afterwards.
For this project I chose to use an artificial arrangement so there is less maintenance on my part. I can set it on my dining room table and leave it there until the season is over. If you prefer a real arrangement, just use wet foam. It’s still very easy to change out the foam and the flowers whenever they wilt.
Begin by securing the floral foam on the top of the pumpkin. If you chose a pumpkin with a stem, you can push the foam down on the stem to secure it. If your pumpkin does not have a stem, you can secure the foam with tape across the top.
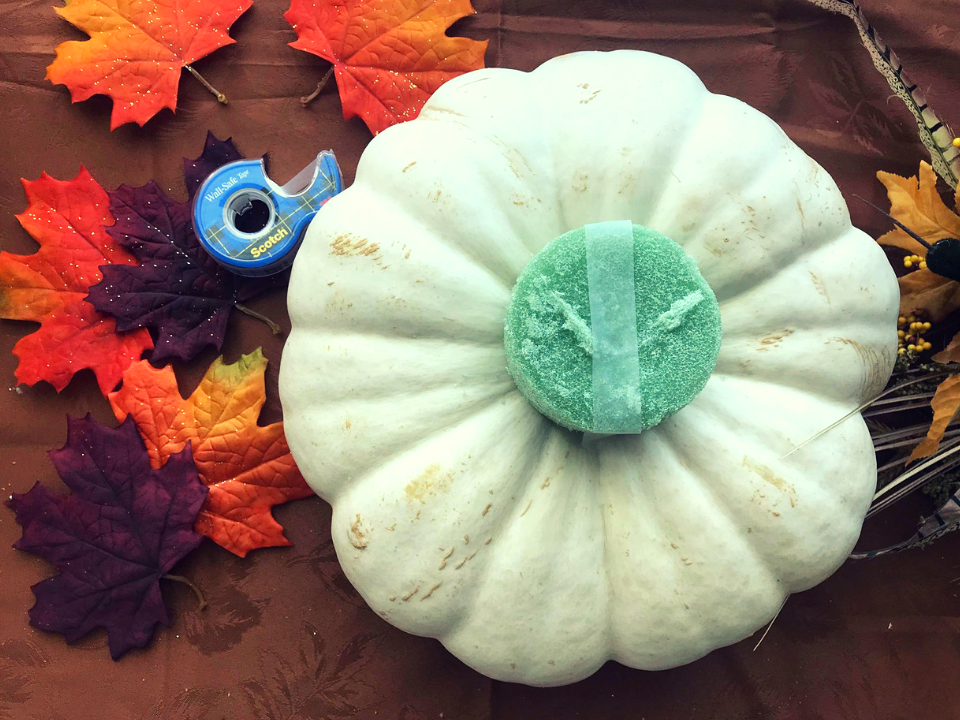
Next you want to separate your pieces of foliage. You will want some longer, wider pieces for the outside rim of the foam. These pieces will drape nicely over the pumpkin to hide the foam and accent the pumpkin’s natural shape. You will also need shorter pieces that will go on top of the foam. Save your pine cones and little accents, we will get to those in a minute.
Start at the bottom of the foam and push in the largest pieces while working your way around. As you work moving up the side of the foam, gradually use shorter pieces.
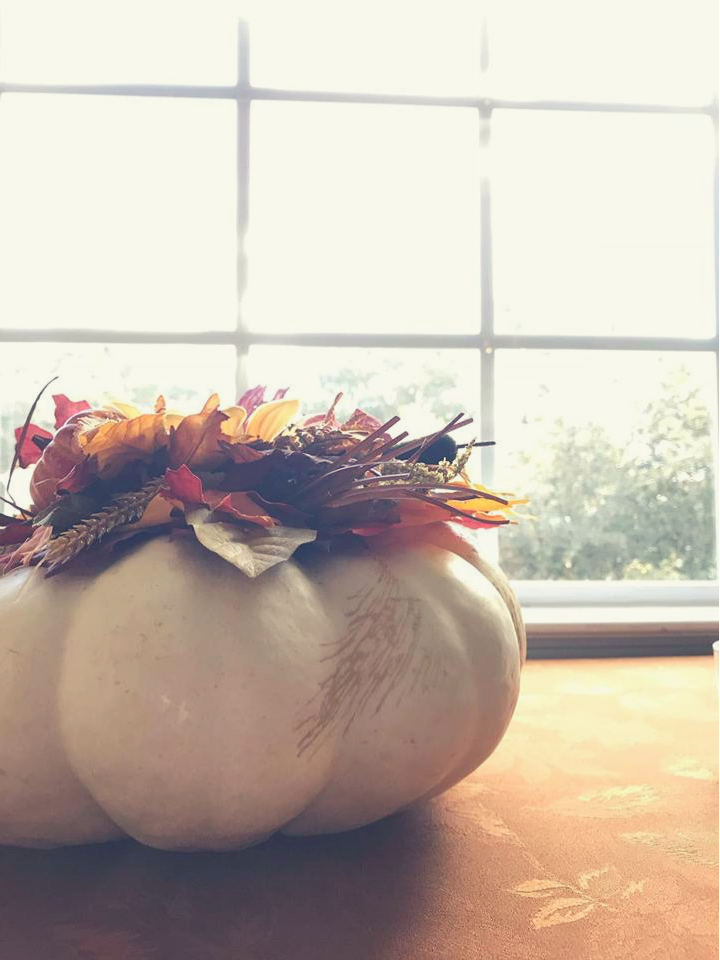
On the top, you can get creative using the shortest pieces of foliage or your pine cones and other accents. Your creation doesn’t have to look like mine. Make it your own for what fits in your home, and above all, have fun with it!
Once you have placed enough of the arrangement where you can no longer see the foam, take a step back and look at your work. It’s so easy to change something if you aren’t happy with it. Once you are certain it looks just right, take pride in your creation and set it out for everyone to enjoy. I hope you have enjoyed this crafty DIY as much as I have!


